Stitching on plastic canvas does not require special sewing skills. With just some basic supplies, you can create a lot of decorative or useful items in a minimal amount of time.
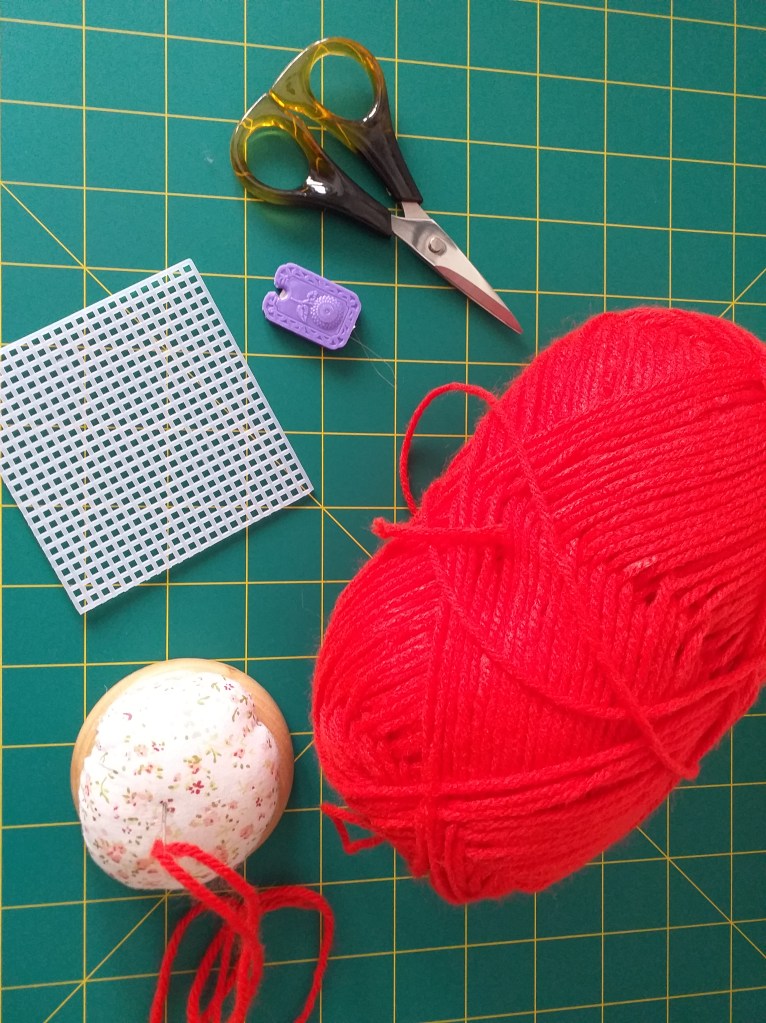
For the above project, I used the following:
NOTES:
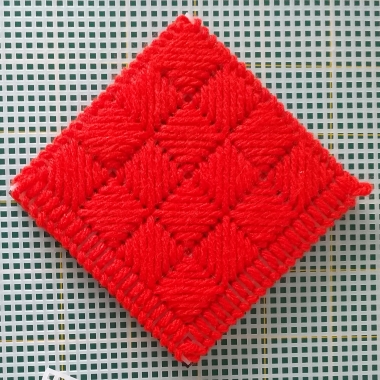
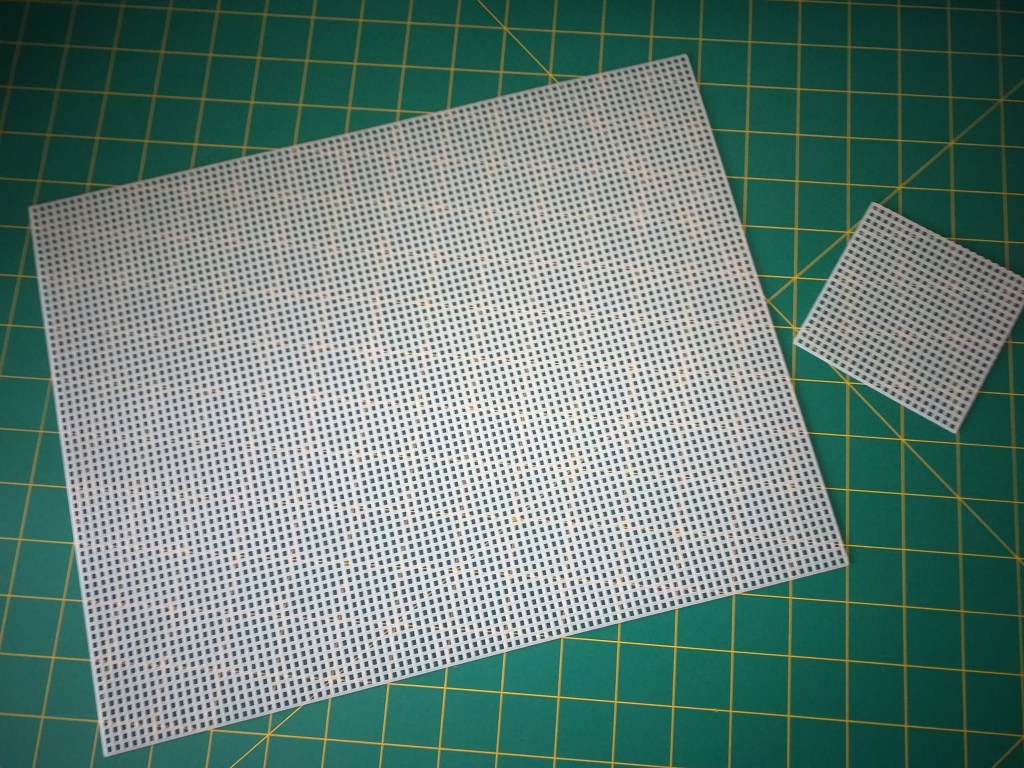
- I cut off squares from a larger sheet of plastic canvas (see above). Instead of buying ready made squares or other shapes, larger sheets are more economical and versatile — you could make cut out shapes of different sizes. For this project, I used a square with 22 holes on each side. I used regular scissors to cut out the square.
- The whole sheet is about 13.5” (34.3 cm) x 10.5” (26.7 cm), and it’s a 7-count mesh, meaning there are 7 holes per inch. Plastic canvas sheets come in 5-count, 10-count and so on, with 7-count the most common that you can find online.
- The yarn for 7-count plastic canvas needs to be chunky, at least 12 ply. Any thinner, you might need to use two strands, otherwise the yarn would just get ‘lost’ in the plastic canvas.
- A needle threader is very, very useful when working with yarn. I usually have more than one at any time, as the wire in needle threaders can easily get bent out of shape after several uses.
- For snipping yarn, I use a pair of embroidery scissors as they are less bulky and unwieldy than regular scissors.
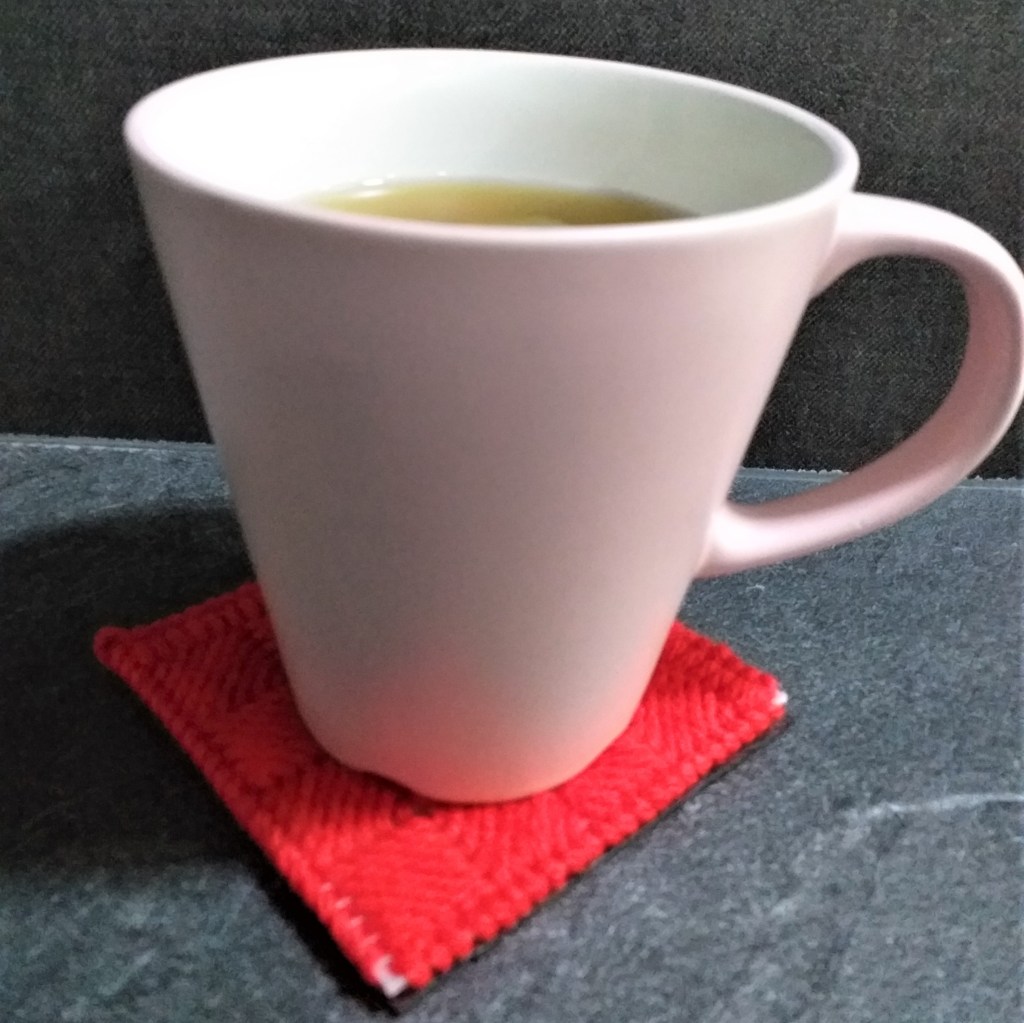
- One item I forgot to include in the photo is the adhesive-backed foam sheet that I use for the backing. I cut a square the same size as the coaster, from an A4 sheet. Previously, I’ve made several plastic canvas coasters with felt backing, both regular felt and the adhesive type. Regular felt needs to be sewn on, which did not come out very neat. The adhesive felt was easier to use. But when it comes to actually using these felt-backed coasters, I found that the felt backing lets condensation from the cup — holding either hot or cold liquid — seep through to the bottom, leaving the table surface wet. Needless to say, it was worse without any sort of backing at all.
- The backing also serves to hide the reverse side of the coaster. When stitching to cover the surface of one coaster, you might run out of yarn several times and need to add new yarn. Tying of yarn a few times will make the reverse side look a bit messy. So the backing also helps to make the coaster look neater.
Watch the video below to learn how to make a plastic canvas coaster.
Other Posts
- The Benefits of Using Frozen Broccoli in Your Meals

- Blueberry Muffins (with video)

- Plastic Canvas Coaster (with Video Tutorial)

- How To Avoid Panic Buying

- Honey Joys (Cornflakes Cookies)


